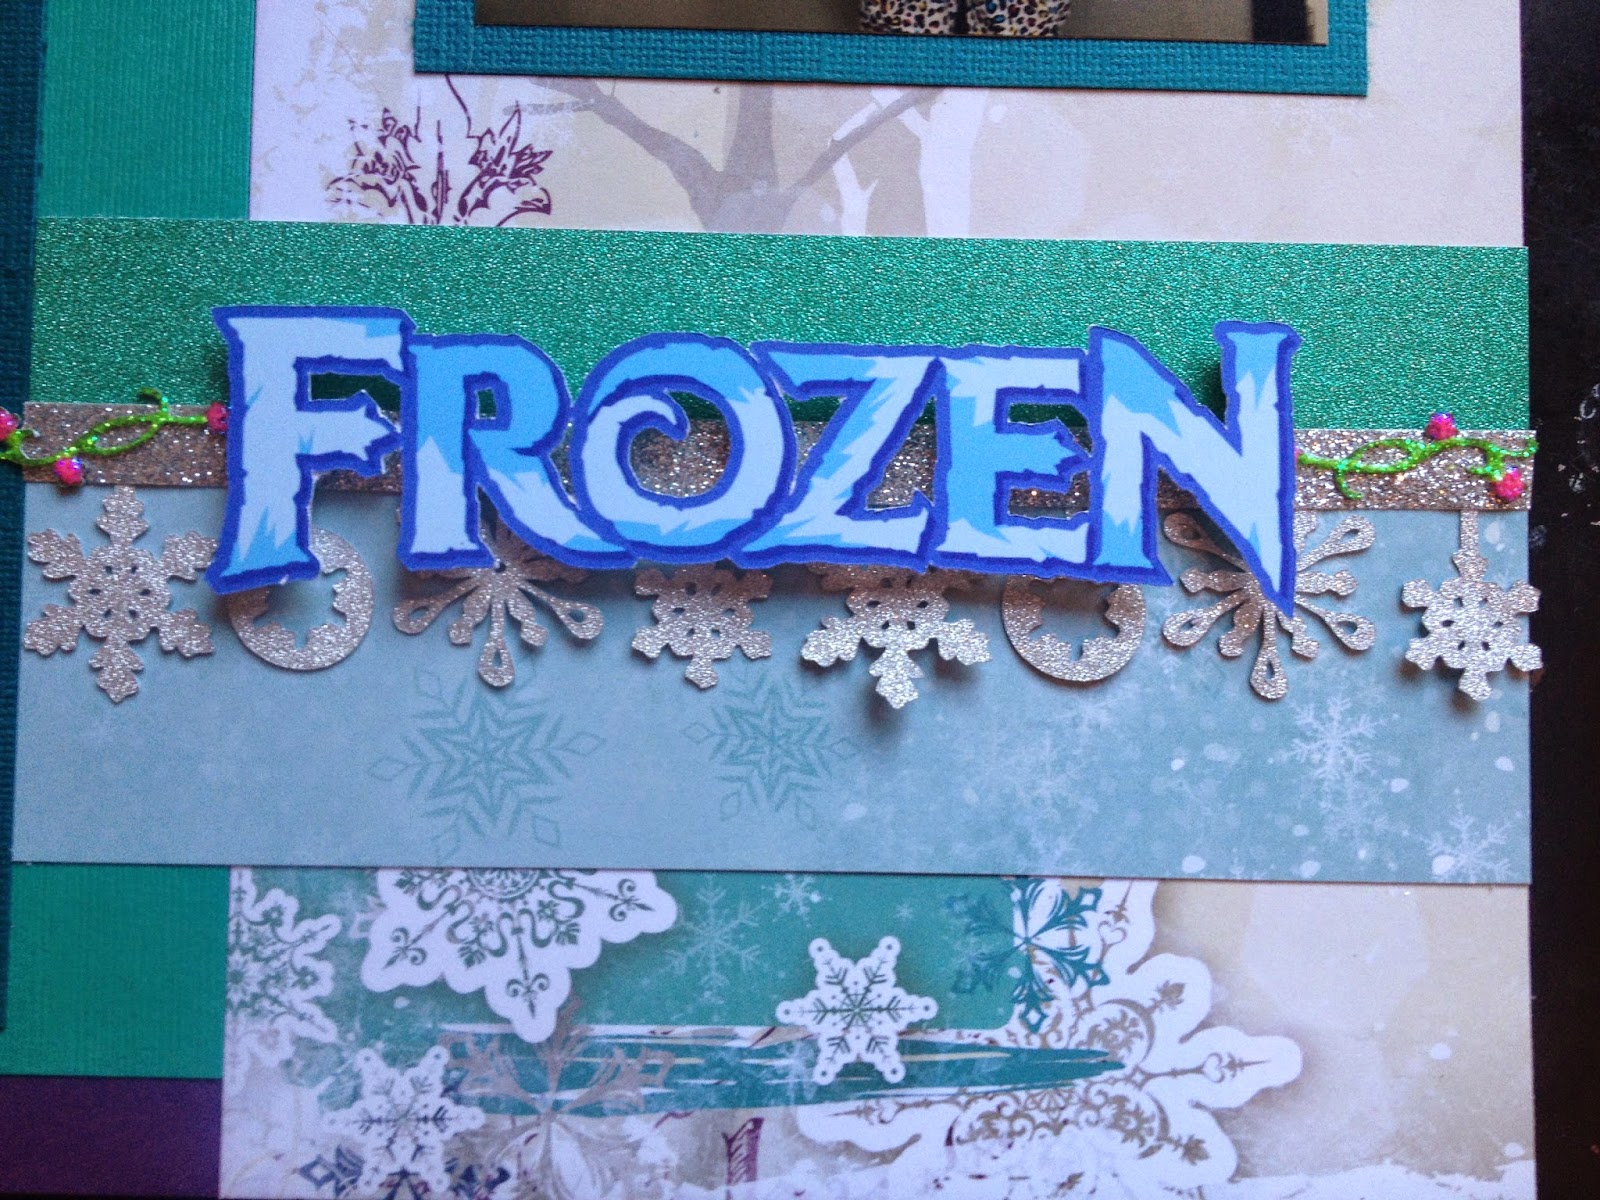
We did it!! We completed my oldests Frozen 4th Birthday Party yesterday and it was a complete success!!!
The invitation.. Elsa was colored with copics by yours truely.
Her birthday card.. again Anna and Elsa were colored with copics by yours truely.
The door sign.. Cut with my cricut and various cartridges including Dreams Come True (I think is what its called) and I used some of thier stickers to put the characters on.
The pinata we bought, I thought about making one and then thought I was crazy!! The party favors were little frozen coloring sets I bought at Michaels for $1 a peice and then put snowflakes with each childs name on it. The girls colored and painted and decorated snowflakes cut on the cricut and then we sticky tacked them all over the house.
The snowflakes and letters we cut on the cricut. I cut Anna and Elsa from wrapping paper. We used a lot of stickles and bo bunny liquid pearl. The bakers twine is CTMH and I bought the cloths pins and Micheals and then put stickles them.
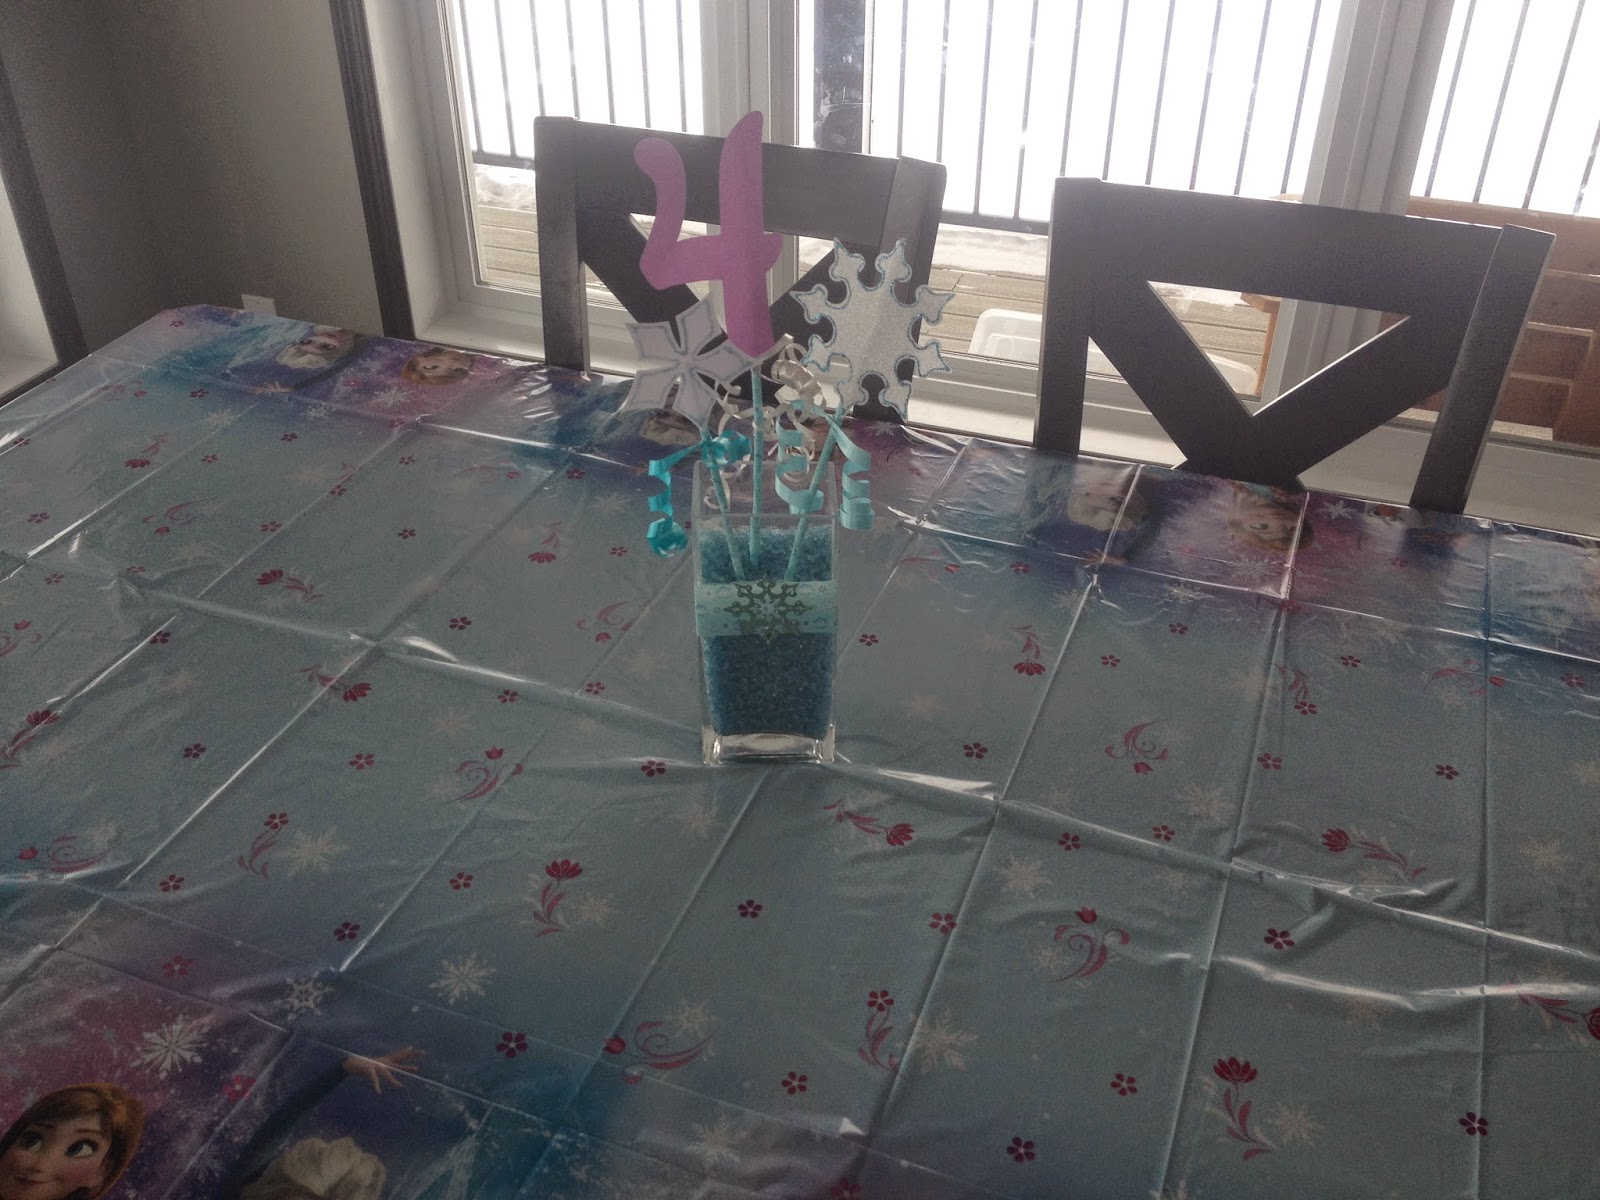
I cut the snowflakes and 4 on the cricut. I used cookie sticks and wrapped them in snowflake washi tape. I grabbed a vase from the cupboard and wrapped it in snowflake washi tape too. The ribbon I had at home and I bought the rocks at the dollar store.
We played "Pin the nose on Olaf" with an Olaf my girlfriend and I created with different shapes in the cricut craftroom. I loved his own personal flurry!!! We cut noses for each child with thier name on it.
We built snowmen out of different sized marshmellows, pretzel sticks, currents and papaya peices!! The kids promptly ate after creating! LOL!
I bought the different sized bowls at the dollar store. We also bought plates, napkins, cups, cupcake wrappers and sticks. I used different snowflake dishes that we have from christmas to put food out in.
For food we had: Snowflake squares, ombre rice krispy squares, chips, pretzel sticks, bits and bites mix, trail mix, meat, cheese, crackers, meat balls, and popcorn.
I'm sorry this is upside down!! I'm not sure how to change that... It took me 4 tries to get it right!!! This is actually the Ariel cake pan. I cut a peice off and used the Ariel design as more of a guide line. I iced in my own lines for the hair and dress. And here we have it! An Elsa cake!!

And last but not least the Frozen canvas I made for her wall in her room. A lady off one of my FB groups was kind enough to cut and mail me up the "Sisters Forever" off the Frozen digital cartridge. I used a napkin to put Anna and Elsa on and then glazed over them. Some of the snowflakes are put on using a stencil and modeling paste. I used some of the snowflake washi tape on the edges. I also put heat duct tape through my cuttlebug with a snowflake embossing folder and then applied it around the edges. There are some snowflake buttons (left over from the Frozen pjs) scattered around as well and then covered with the bo bunny liquid pearl. I also cut some snowflakes on the cricut. There is a ton of stickles on there too!!!
And there you have our frozen birthday party!! My hand still hurts from all the stickles, liquid glass and icing squeezing but I think my little one loved each and every little peice!!!!
Now, to make the Frozen layouts for each scrapbook.... Oh and get started on DIY Bubble Guppies Birthday Party... If you have any ideas please share!!!!!
Talk to you soon!!!