Thursday, December 31, 2015

DTBST #314: Do You Recycle?


Hi everyone and welcome to DTBST#314.
This weeks fun challenge is:

Do You Recycle?

We want to see your projects using an element 
 you recycled/reused/repurposed.


Hope you will join the fun and give it a go. You don't need to use a SSD image to play along, but we love it when you do. Enter by next Wednesday night for your chance to win 2 SSD images of your choice.

There is some extra incentive for using a SSD image, 
you get to enter twice. So if you use one, make sure you
 link to your blog post and the second link can just be to your blog 
(it won't let you link to the same post twice). After your name, please put SSD, so we know why you are linking twice!

I had so much fun planning and creating this project!! My oldest daughter turns 5 in February and wants to have an Ariel Birthday so this was perfect!!!

Here is my recycling-- This originally packages 3 rolls of foam tape:
All of the paper used in this project was also scraps so that counts for something right?

This is what I turned it into!!!
An Ariel Shaker Card!!! 
Its 3d inside the shaker as well which you can't really see but there are 2 layers in there!!
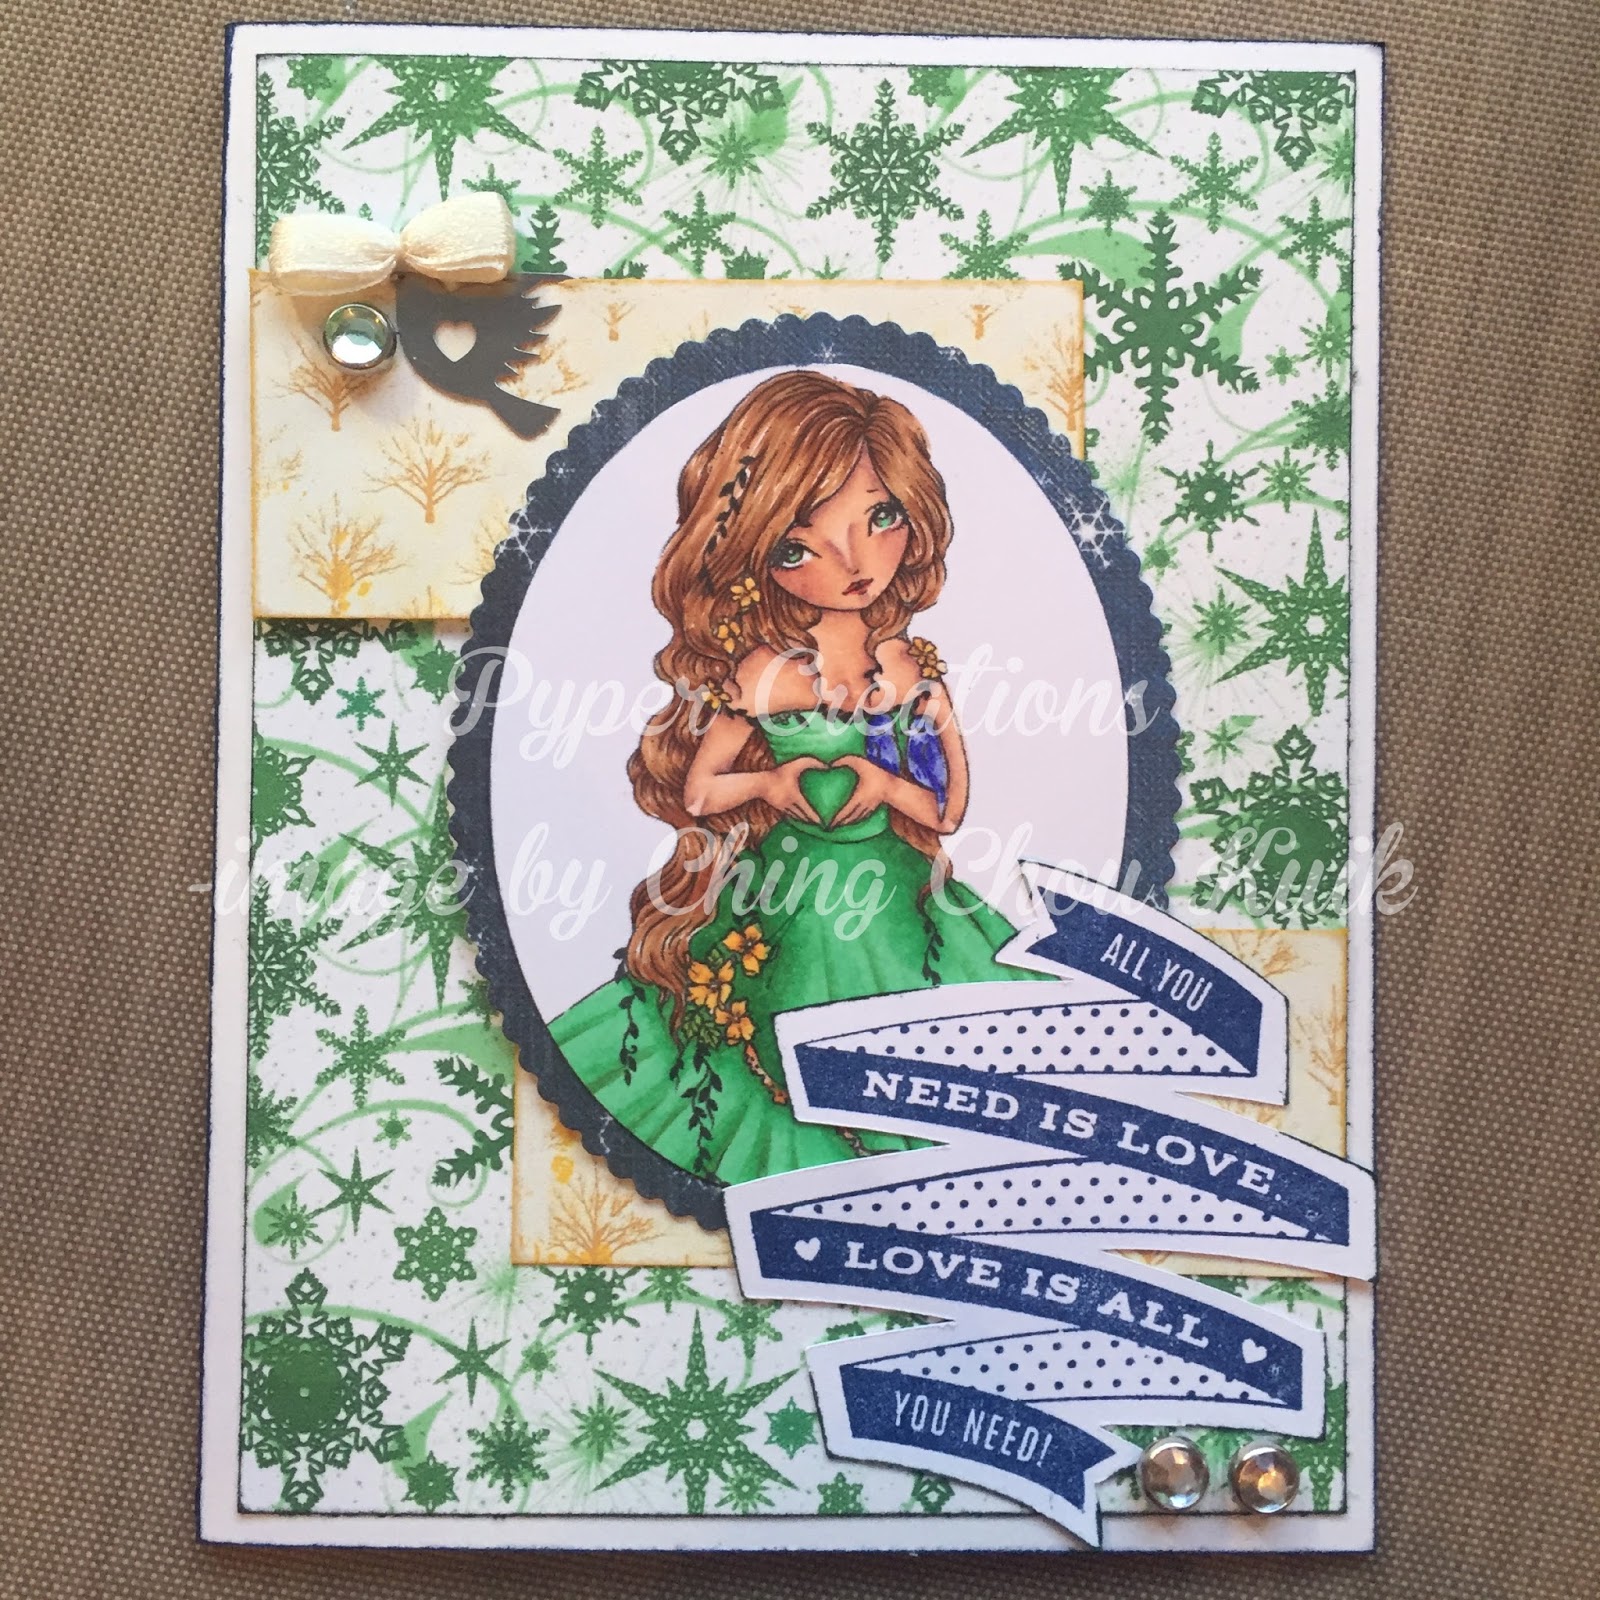


Materials used:
Disney Princess Dreams Come True cricut cartridge
CTMH Black, Gypsy, Creme Brulee, Topiary, Ruby, Cranberry, Cotton Candy, and Honey cardstock scraps
Recollections Silver glitter cardstock scraps
CTMG Atistry cricut cartridge
Dollar store sequins
Stampendous Silver Crushed Glass Glitter

Now its your turn!! Go turn something "Trashy' into a beautiful treasure!!! I cannot wait to see what you all create!!!!! Make sure to link up to the challange HERE!!!!


Wednesday, December 30, 2015

Birthday cards

My cousin turns 25 on Dec 31st. Such an event should not go unmarked!! I think this card definetly makes a statement!!
I had so much fun coloring her up!! This is one of my favorite cards I have done in a while!!

Materials:
Polkadoodles Sentiment
Random paper and random flowers

I am entering it in this challenge:
I used Sketch #32 as inspiration:


The other card I have to show is for a dear friend. 

Materials used:
CTMY Artrisry cartridge
CTMH Stamps
CTMH Art booking cartridge
CTMH black bow
CTMH Liquid Glass
Black Stickles
CTMH Cocoa, Colonial white and kraft cardstock
Tim Holtz Wood grain embossing folder

I am entering it in this challenge:

Ok Now I'm off to bed!! Have a great night everyone!! Keep crafty!!

Tuesday, December 29, 2015

Bridal Shower Gift

A friend of the family is getting married in a few months... and I either missed the invite or didn't write it down or something... so the morning of the shower I whipped this up for her!!


Materials used:
CTMH Artistry cartridge
CTMH Life is sweet stamp set
Bugaboo digital papers
Polkadoodles digital papers
CTMH Honey, Sapphire, and Ponderosa Pine inks 

I am entering this card in this challenge:

And for her gift I made her a set of Wine glasses with a split snowflake and thier last name glasses frosted on:

Thanks for stopping by!! Come back soon I have 1 more to show you tonight...

The last of the Christmas presents

I promised the other day to post the last of the Christmas presents... turned out I forgot to take pictures before wrappnig a few :( These are the last 2 to post..

This isMermaid and her Baby by Aurora Wings colored with copics. The shadow did not turn out as planned but what do you do? My tiny human is still super excited to have a baby mermaid hanging on her wall!

And these beautiful pj's were sewn by my 4 year old... yes she had a lot of help from Mommy but she stood at machine and helped run each seam through!!! I'm so proud of my little girl!!


Sunday, December 27, 2015

Happy 75th Birthday Gramma!!

How was your Christmas?? Its so nice to finally be getting back into a normal routine... I spent 4 hours today simply tiding and reorganizing the house!!! I have a few other projects to show you but as our family routine is gonna be shifting for the next couple months I'm gonna focus first on the current projects and as I have time I will show you some of the other things I created for Christmas gifts... Maybe... Now that I think about it they may have been wrapped up without pictures... OOPS!! We shall see... but for tonight:

My Gramma is celebrating her 75th maybe 76th birthday on Tuesday and that clearly cannot go unmarked!! And as its getting way to close to comfort for me I figured I better get her gift and card done!!


Materials:
Ching Chou Kuik- Time Flies colored with copics
Banner and Flower Wreath were cut from CTMH Artistry cricut cartridge
Bo Bunny Sweet Life paper
CTMH Cocoa cardstock
Sewing machine and thread
Random button and Flower

Anyone who knows my Gramma knows that it will just tickle her that I sewed on her card and used buttons as she is an avid seamstress!! I can't wait to see her face!!

I am entering this card in these challenges:


Monday, December 21, 2015

Fantabulous Cricut Challenge Blog Christmas Bingo Blog Hop!!!

Welcome to the FCCB Christmas Bingo Blog Hop! Here is your Bingo card-

You can choose to do a line up, down, across or diagonal, completing each square in your line. Example: Christmas Cricut Cut, Hand Colored Christmas Image, Christmas Glitter. You have so many choices!


Sponsored by:


A $10 Credit Voucher will go to the lucky winner!

To qualify for the prize, be sure to use at least 1 Cricut cut on your project and if it's not obvious, let us know what cartridge you used. If you use a Cricut Explore machine, at least one cut must be from the Cricut catalog of images.

For this blog hop, you can submit up to three projects. Each project is one entry into the drawing for the prize.

Be sure to visit each Design Team member and leave a comment-those will be put into a drawing for the following:


There may also be Blog Candy along the way, so have fun!

So here is the line-up:

Michelle
Karla
Sara --- YOU ARE HERE
Liz
Christina
DIANA L
Marie
Diana M.
Lynn
Cindy


Hey Everyone!! I'm so excited to have you join us for our special Christmas Edition of the Fantabulous Cricut Challenge Blog!!!

I had so much fun working on this project... And I hope you love it!! I decided to do a Black out for my Bingo Card...


Christmas Colors- Red/Green- Michelle R Designs- Traditional Christmas are the 2 green papers
Christmas Ribbon- Some random ribbon in my stash
Christmas Embellishment- Tim Holtz Jingle Bell Brad
Christmas Sentiment- Merry Christmas, From Our Family to Yours-- typed in DS and Print then cut
Christmas Flower- Poinsettia from Winter Wonderland cricut cartridge
Christmas Cricut cut- Poinsettia from Winter Wonderland and banner from CTMH Artiste
Christmas Embossing folder- Snowflakes embossing into the red mat
Christmas Glitter- Rose Gold stickles
Christmas Image- Hand colored- Polkadoodles- Winter Deer- hand colored with copics-- I used the deer lesson from Kit and Clowder- Animal Techniques Class to learn how to color them up so beautifully! Alyce does an amazing job teaching!!!

Keep hopping along my friends!! Go see the other amazing works from our Design Team!! I'm sure Kristina has something beautiful for you to see!!

post signature

Friday, December 18, 2015

Sassy Studio Designs Flash Back Friday

I have been picked to be a Guest Designer for Sassy Studio Designs! I'm so excited!! I love these images and have amassed quite a collection so I'm so excited to get to showcase and promote them over the next few months!!
Its Friday which means over on the Sassy Studio Designs Facebook Group we have our weekly image giveaway!! You have to be a member of the group to get them for free so head over and come join us for some coloring fun!!
This week the images are:
 and 
Frozen Heart Sassy and Let it go Sassy!!! If your not a member of our group or you missed the freebie you can purchase them HERE.

Now that the business is out of the way... Wanna see what I made with these beauties??


I had so much fun creating these little gift tags for my girls!! They will be going on their Frozen sleeping bags I made for them... stay tuned for that post in the next day or 2!! And I figured after we finish opening present the girls could hang them on the Christmas Tree like ornaments!

Thanks for stopping in and I cannot wait to see what you all create with these images!! Have fun!!!

Wednesday, December 16, 2015

Christmas Coloring

Christmas gifts really!! but I colored em!!
This is Ching Chou Kuiks- Mad Tea Party. I'm not sure if she will ever be available in the Etsy store but you can keep peeking if you want it!! Just a month before Christmas my bestie asked me for a dark and twisty Alice in Wonderland peice of art...I'm not sure if I managed it but I sure tried and I do love the final outcome!!!
I am entering this project in this challenge:

This is for my daughter to go with the other image above her bed. In April I color her an image from this same line over at Polkadoodles with the April Create and Learn class. For this one I used techniques from the April, August, and October classes over at Kit and Clowder.
I am entering this coloring in these challenges:

And this is the November Create and Learn class at Kit and Clowder using an image from Tiddly Inks. Not gonna lie, I got her finished at 1115pm on the 14th and the new class was released at 5am on the 15th. Thats the closest I have cut it yet!!! But she's done and so pretty!!
I am entering this project in this challenge:

Sewing Projects

There has been some serious sewing and Christmas prep happening around here lately!! And I'm still not done... But I'm getting closer!! Here's a look at whats come off the sewing machine this last week!

These little drawstrings bags came to mind when I picked my girls up some little figurine sets. I'm kinda OCD... when we put the toys away they are all seperated into thier sets... Like the play food-- the ice cream set is in 1 ziplock bag and the pizza set is in another ziplock bag. I know its crazy but I like organization and then when the kids wanna play with the ice cream shop they don't have to hunt for all the peices... So when I bought the little figure sets I knew this would be happening with them too! So I popped back to the fabric store and grabbed 8" of each material I had bought figures for. I used this tutorial to whip these up and it worked great!! Each little bag took about a 1/2hr-- I made 6 LOL I got 2 bags out of each 8" strip of fabric and I used ribbon already in my stash! This pattern makes French Seams which I love cuz there's no surging or zigzag stitching or lining needed!!!

These Sadie Grace Nightgown are so quick and simple to make!! They take 2hrs each from the minute you start cutting to the minute you fold the completed project up including potty breaks and such!!! The instructions don't cut the material as effectively as possible so if you read it all and plan it out before you cut you can get 2 pairs per amount of material listed... I got a 5/6 and 3/4 of the Cinderella material and could have of the little mermaid as well except I had a blonde moment so it was 2 pairs of 3/4. I did take some creative cutting and an additional seam in both sleaves to make the 2 pairs of Arielle but I made it work!! I bought the material listed to make 1 nightgown in the 3/4 of the Little Mermaid and 1 nightgown in the 5/6 of the Cinderella. I also had enough seam binding from 1 package to make both nightgowns. Just a few tips if you wanna give this one a try!! You can grab it HERE and the pattern is currently on sale!!
5/6 for my 4/5 year old

3/4 for my 2.5 year old

3/4 for my 2 year old Neice

Glass Light Blocks

Wanda and I have been falling in love with the glass blocks with the lights in them... There are soooo many things you can do with them!! If you remember the night light I made my nephew back in the spring? So when Vinyl Cutz came out with a new line of Vinyl SVG's we both had the exact same idea for one of them... a lit glass block!!

I frosted the inside with Martha Stewart glass frosting... or rather my bestie did! And then I put some dollar store battery operated snowflake led lights inside. Cut the vinyl and viola!! I do want to do a big bow on top but I'm not sure if that will happen this Christmas or not... If you love this vinyl as much as we did you can grab it HERE!

This one I made up quick for a family Chinese Gift Exchange. I frosted the inside of the block and strung some dollar store battery operated led flower lights inside. I designed the vinyl in Design Space.

Thanks for you help Wanda!!!


Shadow Box Christmas presents

So my bestie calls me the other day... Can she come out? She's got a couple projects she needs help with.... Yup for sure!!!


Well.... a couple projects it was not!!! It was like 10! My poor cricut ran from 830 am to 330pm!! But man did we create some fun stuff!! We also did some serious tag teaming!! She does not own a cricut or know how to use it or the vinyl she wanted to put on everything.... And I had a ton of wrapping needing to be done and glass that needed frosted!! She did my stuff I did her stuff and we got it all done in record time!!!


These 2 shadow boxes are for friends of hers. We used various Cricut fonts as well as Snapdragon Split Monogram from SVG Attic. You can buy the letters individually which is what we did. The vinyl we used was Recollections from Michaels and I actually like it better than Cricut vinyl. Sorry Cricut!!


This is a shadow box for my Crazy Cat Lady Gramma. We found the phrase on pinterest and we knew it was puurrr- fect!! I designed all the vinyl in Design Space and we put some designer scrapbook paper on the inside.

This project I have had in my head since last spring!!! It feels so good to finally have it all done and to have it turn out exactly the way I envisioned it!! The Phrase it cut off the New Testament cricut cartridge and then we used glass frosting to apply it. All the little figures are off the CTMH Artfully Sent cricut cartridge. And I inked the background with Tim Holtz Faded denim, peacock feathers and black soot distress inks. I also used Squeezed Lemonade for the star.


We also created a shadow box for her Nursing School memorabilia and 3 shadow boxes for each of the countries she traveled to this fall; Vietnam, Thailand, and ... I can't remember the last one!! We put some vinyl on ornaments for her too from the same trip and college grad. She assures me she will send me pictures when she gets them all filled; both the shadow boxes and the ornaments!

Ok ready for some more?? LOL

Saturday, December 12, 2015

Christmas for Wanderful Creations

If you follow along with me you will know that Wanda over at Wanderful Creations is one of my best friends! So I have to wait to post this until she's recieved her present and card... But I had to show you what I made for her!!
Her Hubby has a real thing with the proper Christmas greeting being Merry Christmas so when I saw this image I knew I had to make it for them!!
Materials used:
Tim Holtz Jingle Bell brads
Silver glitter trim
Snowflake chipboard misted with Heidi Swapp Teal
Bo Bunny Sleigh Ride paper

I am entering it in this challenge:


Wandas favorite artist is Ching Chou Kuik so I knew I had to use one of her images in Wandas gift. I have seen a few of these Christmas ornaments being done and had to try it! Although it did not turn out exactly the way I had planned with the glitter stickying to the image... I am really happy with the way it turned out and I hope Wanda loves it!!

Materials used:
Glass Ornament from Michaels
Dollar store glitter and sequins and all kinds of stuff!!
Ching Chou Kuik's Scarlet Holly colored with copics. I'm not sure if this image will be available for purchase again as I bought it from Sweet Pea Stamps and they have recently closed. But I do hope Ching Chou Kuik will make some of these images available in her etsy store soon!


Thanks for stopping in!

Tuesday, December 8, 2015

The last of the Christmas Card!!!! Wahoo!!!!

So today I finished the very last of the Christmas cards!! They are all now made, signed, stuffed with family photos and sealed!!! I am so excited!!! So here's the last of them for a while!!!

Materials used:
Bo Bunny Sleigh Ride paper
CTMH Stamp
Tim Holtz Faded jeans distress ink
Bo Bunny Liquid pearl
Chipboard snow flake

Materials used:
CTMH Artiste cricut cartridge
Silver glitter tape
Tim Holtz Mowed Lawn distress ink

I am entering this tag in this challenge:


Materials used:
CTMH Artiste cricut cartridge
Silver glitter tape
Tim Holtz Mowed Lawn distress ink

I am entering this card in this challenge:


Materials used:
Bo Bunny Sleigh Ride paper
Silver Glitter tape
Karleigh Sue: Bah Humbug colored with copics

I am entering this card in these challenges:
52 Christmas Card Throwdown- Pick a Previous challenge- So I picked Sketch #40 from June 2015


And this last one I just wanted to show you!! We made Candy Cane sliders for the oldests play school class!! How cute are those?!?!

Thanks for stopping in again!! See ya later!!

Christmas Ornaments

Hey Ya'll!! Ready to see what we have been up to here the last few days?? I been making ornaments and the tiny humans have been helping!! They had so much fun filling these ornaments with glitter and sequins and beads and all kinds of things we found at the dollar store!! The ornaments are all from Michaels and perfect for this quick and cute project!!

This first one is for our own tree. Using one of my favorite artists images...
Aurora Wings- Garland Sprite colored with copics

I am entering it in this challenge:


 This one is for my cousins new baby:

And this last one is for my cousins oldest daughter, who like every other little girl in North America is still obsessed with Frozen! 
I used to Cricut Frozen cartridge to create this image. I used printable vinyl to print and cut the image and then we stuck it on!! Its so cute now my girls want one too!! LOL